How to Set Up a Static IP Address
DHCP is fine unless you're looking to perform advanced networking tasks. Here's how to set a Static IP address (or DHCP reservation) for any device on your network.

When you have a lot of devices on your network—computers, NAS devices, and Raspberry Pis—it can be annoying to constantly look up their IP addresses when you need to access them remotely. Make your life easier with a set of unchanging, static IP addresses for those machines.
Your router assigns IP addresses to devices on your network using DHCP, or Dynamic Host Configuration Protocol. As you connect new devices to the network, they'll be assigned the next IP address in the pool, and if a device hasn't connected in a few days, its IP address will "expire" so it can be assigned to something else.
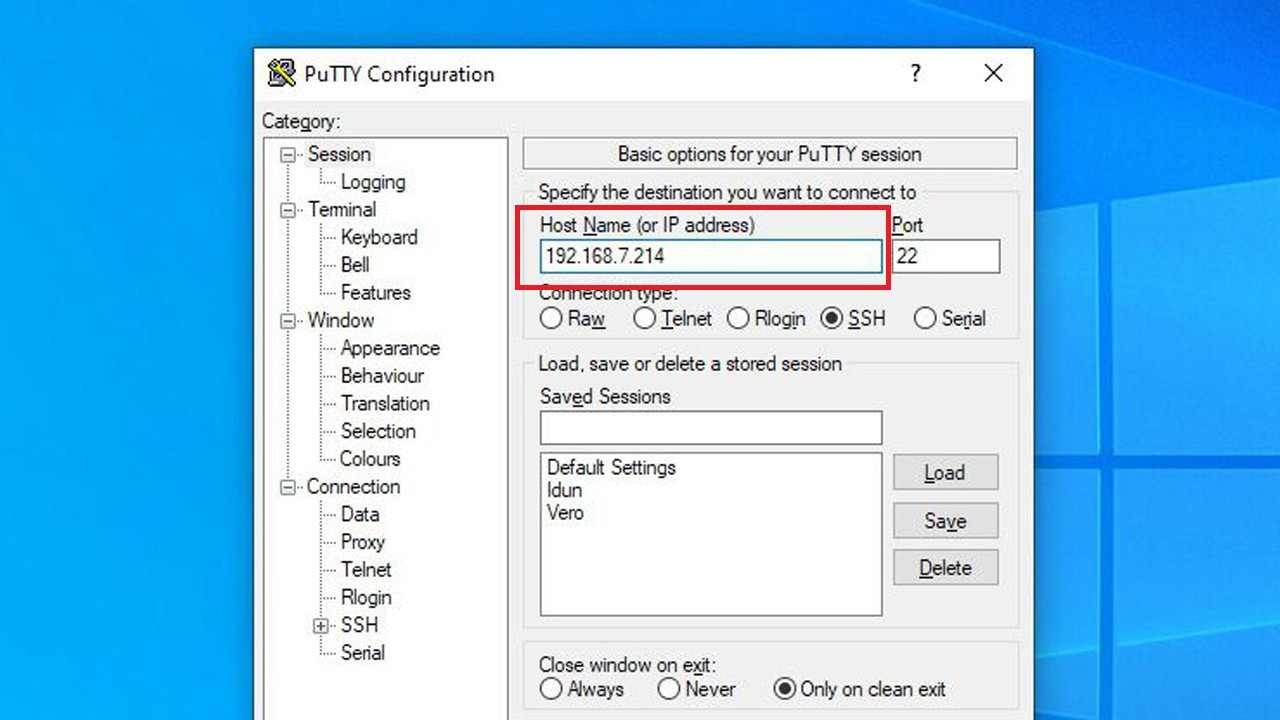
For everyday use, this is perfectly fine, and you'll never even notice it happening in the background. But if you regularly SSH into your Raspberry Pi, use Wake-on-LAN to turn your computer on from across the house, or perform other advanced networking tasks, DHCP can become an annoyance.
It's hard to remember which IP address is assigned to which device, and if they ever expire, you have to look it up all over again. That's where a static IP address comes in handy.
Understanding Static IP Addresses
Instead of letting your router assign whatever IP address is free at any given time, you can assign specific IP addresses to the devices you access frequently. For example, I have my home server set to 192.168.1.10, my main desktop to 192.168.1.11, and so on—easy to remember, sequential, and unchanging.
You can assign these static IP addresses on the device itself—using, say, Windows' network settings on each computer—or you can do it at the router level. Doing it at the router level is called assigning a DHCP reservation, though many people (and even some routers) still refer to it as a "static IP address."
DHCP reservations allow you to easily set everything up in one place with all your computers left at their default settings. Your computer will ask for an IP address via DHCP, and your router will assign it the one you've reserved, with your computer being none the wiser.
How to Set Up a DHCP Reservation
To set up a DHCP reservation, head to your router's configuration page—usually by typing its IP address in your browser's navigation bar—and log in. (If you're using a mesh Wi-Fi system with an app instead of a config page, you'll find these settings in the app.)
The location is different for every config page, but you're looking for something called "DHCP reservations," "static IP addresses," or something similar—on my Asus router, it's in the LAN settings category.
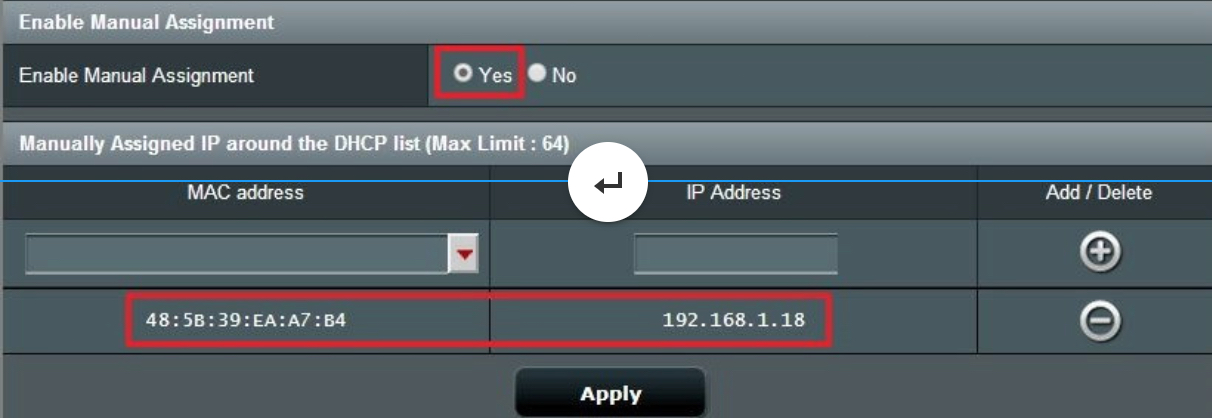
To assign a reservation, you'll need the MAC address of the device in question. This is a unique string of characters that identifies a particular network adapter, and you can usually find it in your router's list of connected devices. Make sure you're getting the MAC address for the correct network adapter—if you have both Ethernet and Wi-Fi on your computer, you'll have one MAC address for each.
On your router's config page, enter an easy-to-remember label for the device (like "Whitson's Desktop PC"), the MAC address, and your desired IP address. Save your changes, and repeat the process for any other IP addresses you want to reserve.
From then on, those devices should have your reserved IP addresses assigned to them, and you'll never have to look them up again.